Elden Ring Shadow of the Erdtree: Belurat, Tower Settlement walkthrough
How to get through Erdtree's first major legacy dungeon in Gravesite Plain.
Belurat, Tower Settlement is the first main dungeon in Elden Ring's Shadow of the Erdtree expansion, and a mandatory legacy dungeon that's vital to completing the expansion's critical path. It's a large and foreboding place to explore, with many twists, turns and secret areas that can make it easy to get lost and very, very dead.
To help you get through Belurat, Tower Settlement so you can get to the first Shadow of the Erdtree main boss, we've put together this guide to help you survive. We'll tell you where to go (and where not to go, if you just want to the quickest path through it as possible), as well as where all the major items are to complete this difficult dungeon. So if you're stuck or just need a few pointers, read on below for our step-by-step walkthrough on how to complete Belurat, Tower Settlement in Shadow of the Erdtree.
On this page:
- How to get to Belurat, Tower Settlement
- Belurat, Tower Settlement map
- Belurat, Tower Settlement walkthrough (Lower Town)
- Belurat, Tower Settlement walkthrough (Upper Town)
- Where to find the Storeroom Key
- Where to find the Well Depths Key
- What to do after beating the Divine Beast Dancing Lion
How to get to Belurat, Tower Settlement
You can get to Belurat, Tower Settlement very early on Shadow of the Erdtree. In fact, it's one of the places I'd recommend going to first to kick off the game's story. It's situated in the north-west corner of Gravesite Plain, and you can get there by riding up the hill through the large stone archway that lies west of the Site of Grace 'Three-Path Cross'.
As you ride up the hill, you'll come to another Site of Grace called 'Main Gate Cross' where Ansbach and Moore are located early on. It's also a Miquella's Cross location with a Scadutree Fragment.

Up the steps is the main entrance way to Belurat, but once you go through the large doors, you'll need to deal with some nasty scorpions lurking inside before you get there. There are large and small scorpions in this section, so be on your guard, as they jump out from corners, and hang down from the ceiling.
Once you've dealt with the first large scorpion, you'll find lots of small ones in the next chamber up ahead with the grand staircase. These are thankfully much easier to defeat - just try not to take on too many at once! And watch out for the sneaky ones on the ceiling. Before you continue, make sure to grab the 2x Revered Spirit Ash by the central statue, and the 8x Poisonbone Darts on the corpse behind it.
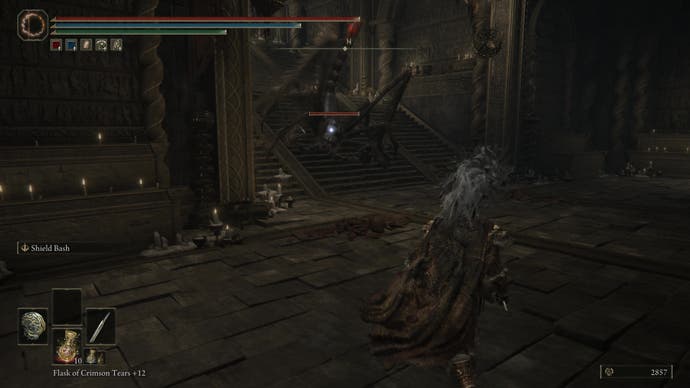

There's another giant scorpion at the top of the stairs (along with a 1x Fireproof Dried Liver on the corpse on the right-hand side), and a third one that will jump out from your right as you head further up.
Finally, keep heading upwards and you'll exit the enclosed stairwell to find yourself at the official entrance of Belurat, Tower Settlement.
Belurat, Tower Settlement map
Before we get to the main dungeon, here's a closer look at Belurat, Tower Settlement as a whole:
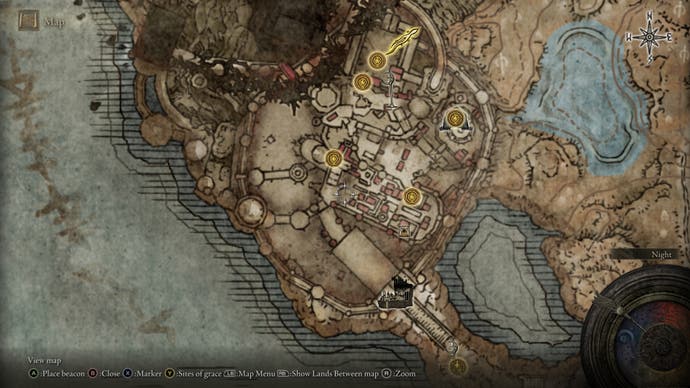
There's another Miquella's Cross to find here, as well as more Scadutree Fragments, Revered Spirit Ashes and a handful of Sites of Grace, and this guide will tell you how to find every last one of them.
Belurat, Tower Settlement walkthrough (Lower Town)
As you head up the main steps, activate the Site of Grace 'Belurat, Tower Settlement' on your left before you go any further. Rest up after those scorpions. You're going to need it.
Directly in front of you is a little room with two aggressive undead ghosts inside, as well as a door. Unfortunately, it's locked from the other side, so you'll need to head in the opposite direction for now (but make sure to grab the 3x Rada Fruit off the corpse nearby before you go).
You also can't open the larger doors next to the Site of Grace either yet, so head east toward an open-air fountain area.
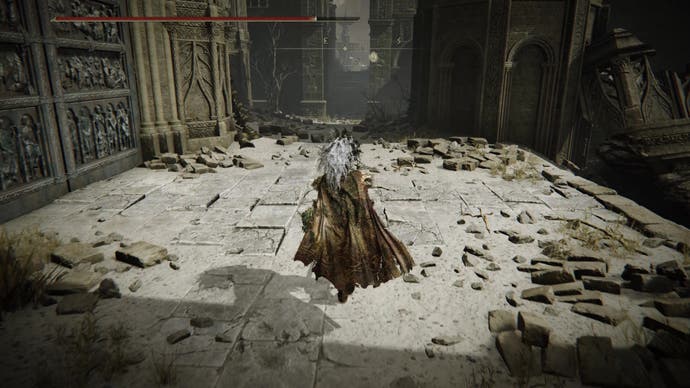
Several shades are praying on the ground, but look out for a larger one to your right - he will attack you immediately, and leap at you with his large cleaver. He can be quite powerful if you don't have a shield to help defend yourself, so take it slowly as you fight him. Once he's down, grab the 1x Stimulating Boluses off the corpse by the fountain.
The other shades will ignore you, but be careful approaching the pond on the left of the area. Yes, the extra item on that corpse might look tempting, but another cleaver shade will leap out of the waterfall at you as you get close. You can bypass this by simply not approaching the waterfall, but it's up to you whether you think the 3x Knot Resin is worth the effort.
Now, head up the small stairs to the south and you'll come to a main street area. Two sorcerer shades will hurl magic spells at you as you come round the corner, so try and take them out with a long-range weapon to stop them hassling you any further.
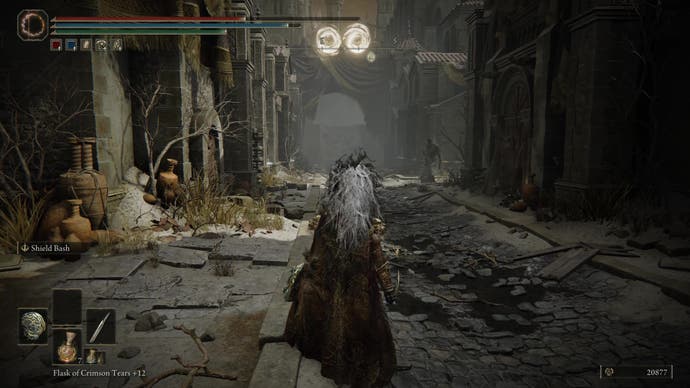
At the same time, watch out for another cleaver shade patrolling the area with a tall, thin dagger shade. You may want to lure them back to the fountain area as they come around the corner so you can get away from the sorcerers.
Once they're dealt with, you'll probably have noticed a bunch more shades all worshipping around a statue to the west. They won't hurt you, but you can grab 1x Somber Smithing Stone (3) on the ground in the middle of them.
There's also a well here, but if you go down it, you'll find it only leads to a locked door. You'll need the Well Depths Key to get past it, which we'll find in a moment, but it's also not crucial to the central path of this dungeon, so we can safely ignore it for now.
Head toward the end of the street where the sorcerers were firing at you. There's a small alleyway to your right that contains 1x Messmerfire Grease at the end of it, but there's another sleeping cleaver shade lurking here, so approach with caution.
Continue in an easterly direction up the stairs. By this time, another cleaver and dagger shade pairing may have made their way down to you, so deal with them first before continuing.
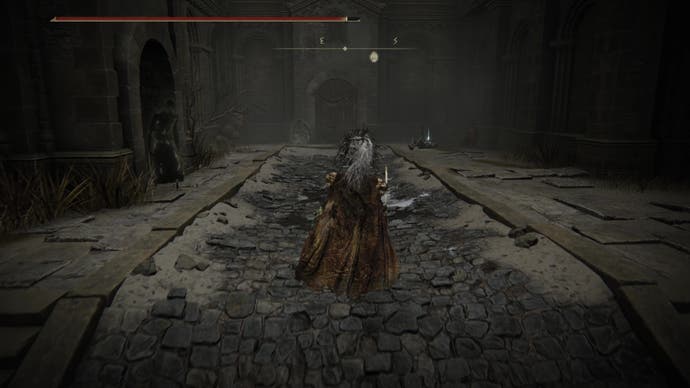
At the top of the slope, you'll see another dagger shade come out of a doorway on your left, as well as a cleaver shade sitting on the ground directly in front of you. Be careful, as there's another a second cleaver shade behind you to your right, so you may want to lure them back down the slope and deal with them in a less confined space.
Once they're defeated, head back up and grab the 3x Black Pyrefly off the corpse in the right corner. Then head inside. Before you go up the stairs, follow the room round to the left. There's a dagger shade standing in the corner facing some pots. Take him out and smash the pots in the corner, and you'll find 1x Silver Horn Tender on the floor.
Now head up the steps and activate the Site of Grace 'Small Private Altar'. Rest here, and continue on to the next section of Belurat, Tower Settlement.
Belurat, Tower Settlement walkthrough (Upper Town)
From the Site of Grace, head up the stairs to your right (there's also a passageway off to the left here, but don't worry about this for now - we'll return here later on, as you need the Storeroom Key to progress down here).
There's a fearsome looking guard patrolling the area, but you can sneak past it if you wait for them to pass. Head right, and you'll come across a group of aggressive shades near some ramshackle buildings. Deal with them, then head down the steps towards a courtyard with a giant tree.
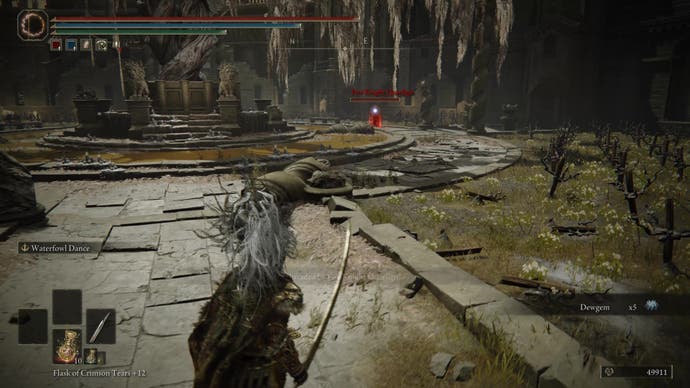
An NPC invader called Fire Knight Queelign will appear here, so prepare yourself for a fight. As his name suggests, Queelign has lots of fire attacks at his disposal, so you may want to consume one of those Fireproof Dried Livers you found earlier to help mitigate any damage. His attacks are very fast, too, but he's quite easily interrupted, making it reasonably easy to get some hits in. Dodge his magic attacks, and watch out for the potion he drinks when he's near death, as this will replenish half of his health.
On defeat, Fire Knight Queelign will drop 6530 runes, and the Crusade Insignia Talisman (which raises your attack power after defeating an enemy).
With the Fire Knight taken care of, you can now grab the other items in this area. On the corpse behind the central tree, you'll find a new Ash of War Shriek of Sorrow, and on the corpse sitting on the bench facing the tree, you can get 3x Black Pyrefly.
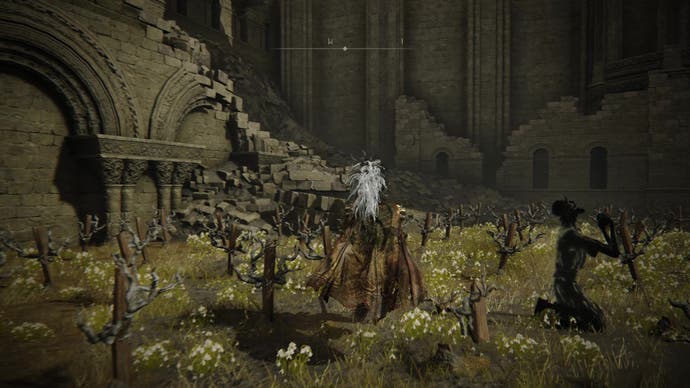
Now, head back towards the entrance of the courtyard, but before you leave, you'll see a crumbled wall to the right that's ripe for clambering up. Follow the path round and you'll find 10x arrows on a corpse at the top.
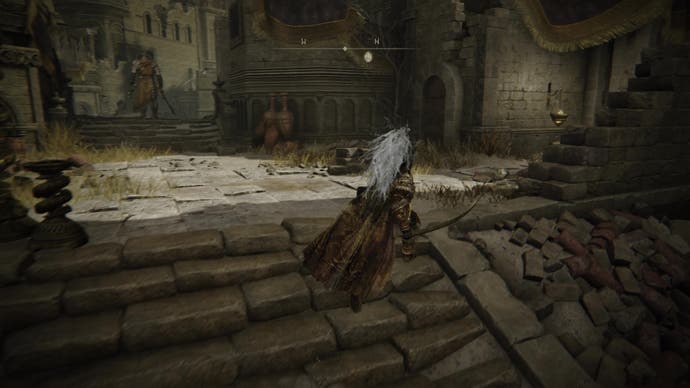
That's it for this section, so either drop back down and head back towards the crumbled ruins you passed on the way in. If you want to replenish your health before continuing, now would be a good time to revisit the 'Small Private Altar' Site of Grace, but if you want to continue, then you can bypass that nasty-looking knight again by jumping up over the crumbled houses. Watch out for the bird enemies perched on the rooftops as you go, as some of them will fire magic at you.
Alternatively, you can creep up behind the warrior quietly and peel off to the right here:
Where to find the Storeroom Key
Whether you clamber over the houses or come round from the left, you end up in the same place: a small passageway leading to a sewer run-off. A shade will jump out from behind the wall on your right here, so approach with caution. Take out the other dagger shade directly in front of you, and the two cleaver shades in this area as well - there's one sitting by the sewer grate, and another round the corner to your left.
Grab the 3x Redflesh Mushrooms on the corpse by the sewer grate, then head south, following the sewer stream. There's another cleaver shade sitting on the edge by the waterfall, and a dagger shade lurking behind the passageway to your right, so deal with them, then grab the 4x String at the edge of the waterfall.
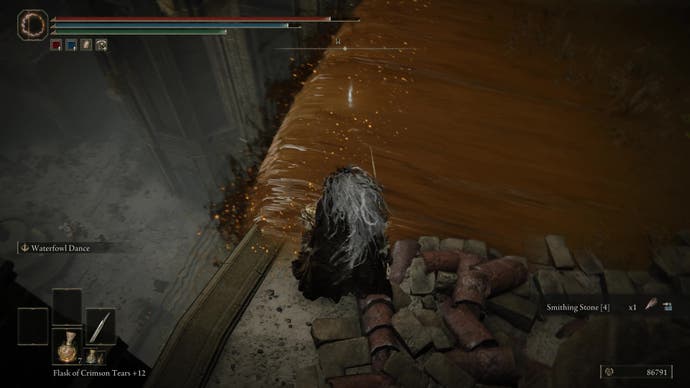
Head into the small passageway and take out the dagger shade coming towards you. The other one will ignore you, so you can leave them be. Then climb the ladder and grab the Storeroom Key off the corpse by the door.
Head outside again and you have two options. On your left is a dead-end, but you can deal with another cleaver shade down the steps and grab 3x Throwing Daggers off a corpse at the end of the path here.
You can also turn right and follow the main path toward the boss, which goes over the rooftops. However, there's a vital shortcut you can unlock first.
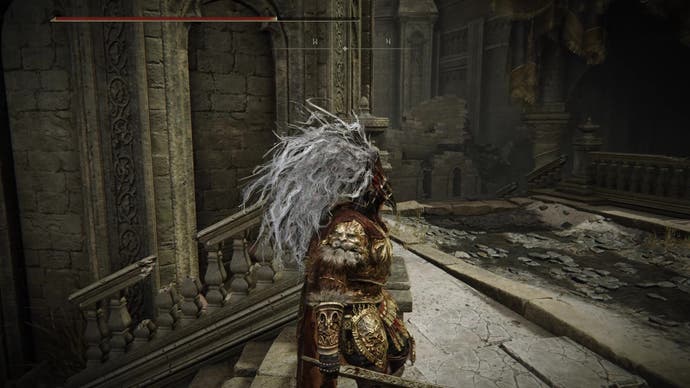
Instead of jumping over the rooftops, turn left at the top of the stairs. Follow the path round and take out the small scorpions where the path forks left and right. Turn left first, and go down the lift at the end of the path.

Open the large doors at the bottom, and you'll be back at the Site of Grace 'Belurat, Tower Settlement', giving you a nice shortcut.
Now, head back up the lift. Before you head back to the rooftops, there's one more important item to grab in that room where the scorpions came from. Watch out, though, as two more giant scorpions will fall from the ceiling as you enter. Once you've dealt with them, the Bone Bow located on the corpse at the bottom of the crumbled stairs is yours for the taking.
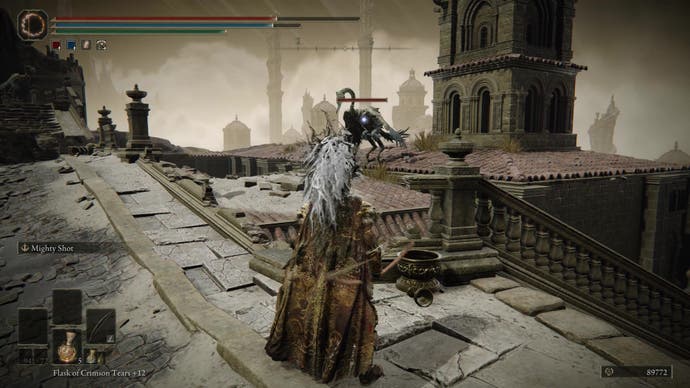
Now, head back out and continue over the rooftops, taking out the birds and shade enemies as you go. On the first rooftop, there's a corpse with 4x Flight Pinions you can loot, and on the second rooftop there's a corpse with 3x Smithing Stone (2) here.
Where to find the Well Depths Key
Before you continue, you can drop down a hidden room here. By the first rooftop, look for the purple cloth hanging off the edge of the archway bridge down below.
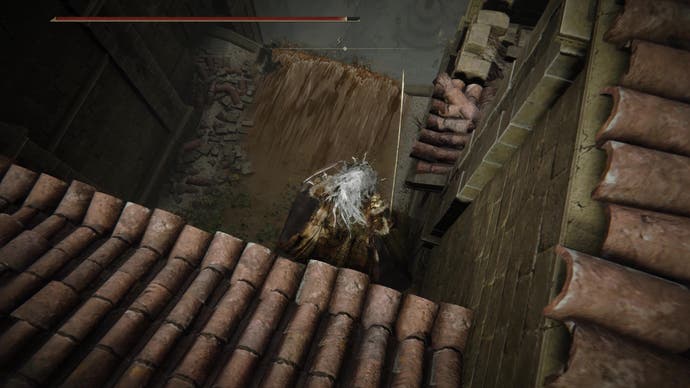
Drop down and you can grab 4x Whiteflesh Mushrooms off the corpse hanging over the side of the bridge. The room in front of you has another weak dagger shade in it, by there's a corpse in the corner by the broken wall with the Well Depths key.
Finally, you can jump up the cloth hanging down over the hole in the wall to grab 1x Silver Horn Tender. Technically, you can also approach this room by dropping down to this ledge from the second rooftop above you. Whichever way you approach it, though, head back across the bridge and drop down to the room with the ladder in it and climb up it again.

Continue on the path to Belurat's boss
When you're ready to continue, make your way back to the rooftops again and once you're on the other side, make sure you kill the shade holding the pot above their head quickly before it disappears to grab a Revered Spirit Ash and Golden Horn Tender. There's also a corpse with 3x Black Pyrefly at the end of the path here.
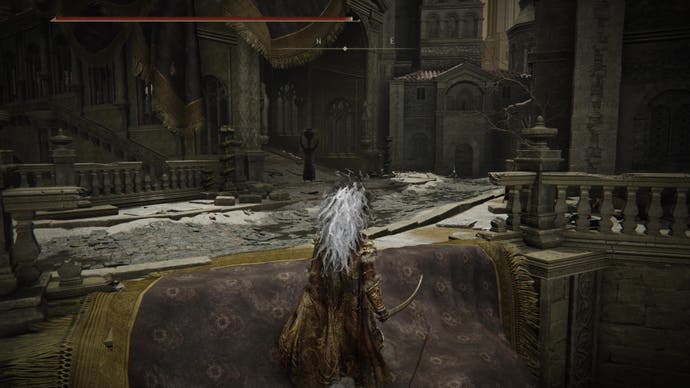
Across the bridge is a patrolling (and very powerful) Horned Warrior with a very large sword, so make sure your health is topped up before you lock eyes with it. It can be a tough fight, but it can drop Horned Warrior Gauntlets on defeat.
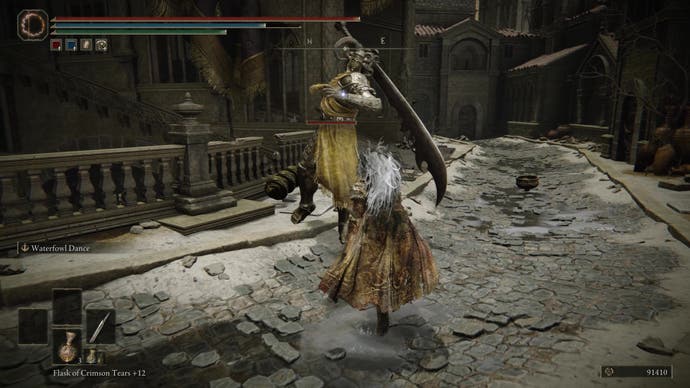
Once the warrior is dealt with, cross the bridge and head left. Deal with the cleaver shade (there's also a corpse to your left with 4x Black Pyrefly to loot from it), and approach the next group of shades gathered around the tree up ahead. They may look innocent, but they will all turn round to attack you as you approach, including another cleaver shade.
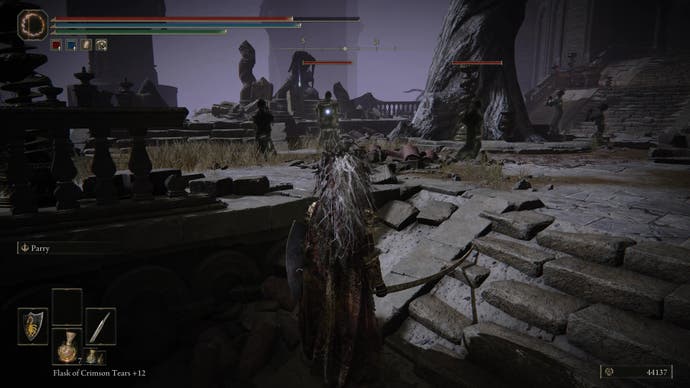
On the statue facing the tree, you'll find another 1x Revered Spirit Ash. Then, head up the stairs into the tower.
You're now in the upper part of the tower you explored earlier with the two giant scorpions. They won't attack you from here, but that doesn't mean you're safe from trouble just yet. A Curseblade stalks these steps, so head right first to grab 3x Warming Stones from the corpse at the end of the crumbled stairs.
Then head upwards to face the Curseblade. If you're lucky, you can sneak up behind it to land a critical strike, but otherwise do your best to dodge its wide blade attacks and leaping swings. Equip a good shield and it shouldn't pose too much trouble. On defeat, it may drop the Curseblade's Cirque, too, if you're lucky.
Ascend the stairs, and finally, you'll arrive at the final Site of Grace ('Stagefront') before Belurat, Tower Settlement's main boss. Rest here, and take advantage of the summoning rune on the floor next to the door to summon Redmane Freyja as a cooperator.
Now it's time to fight Belurat's boss: the Divine Beast Dancing Lion.
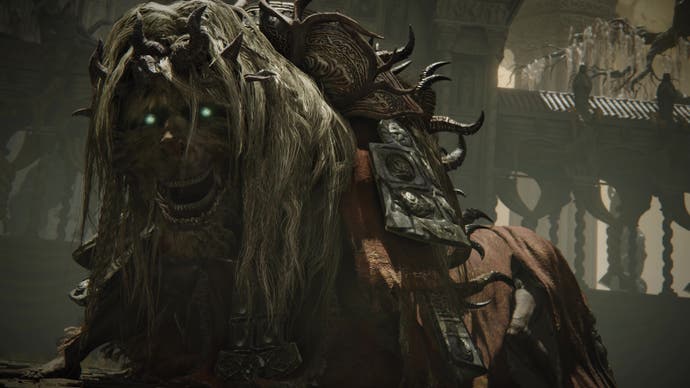
What to do after beating Divine Beast Dancing Lion
Congratulations on beating your first main boss in Shadow of the Erdtree! The fun isn't over just yet, though, as there's still plenty to explore in Belurat, Tower Settlement, as well as lots of items to find.
The main things you can do in Belurat, Tower Settlement after the boss are:
- Get Belurat's final Revered Spirit Ash
- Use the Storeroom Key to talk to Hornsent Grandam
- Find Miquella's Cross location
- Explore the Well Depths
Get Belurat's final Revered Spirt Ash
After the boss fight, activate the Site of Grace 'Theatre of the Divine Beast' and make sure you pick up the new item on the ground: Divine Beast Head. While you can wear this as a new helmet, wearing it in the presence of a certain NPC we're about to meet will trigger some additional dialogue.
For now, though, head up the lift that's just opened on the eastern side of the boss arena. Open the large doors in front of you, and pick up another Revered Spirit Ash from the statue in the corner.
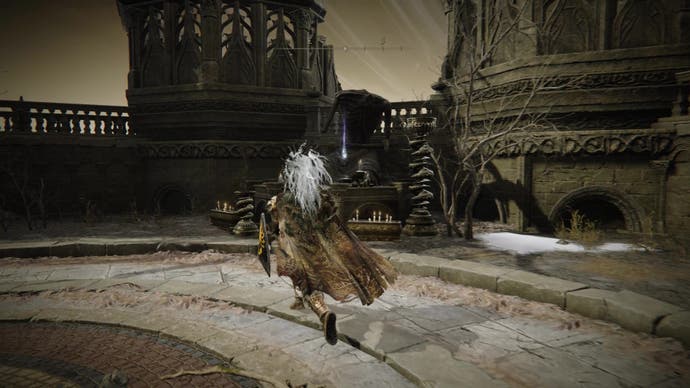
Climb the stairs, and chat to the ghostly NPC you meet on the way if you like. At the top of the stairs, you'll find a note: Tower of Shadow Message. Reading it will reveal it to be a message from the Needle Knight Leda, and it contains a hint about where you should head next in the story (east, into Scadu Altus and toward the Shadow Keep). This is because, for now, you cannot enter the Shadow Tower in front of you. Interacting with the entrance will only give you a message: 'Sealed and obscured by shadow'.
For now, that's all you can do here, so fast travel back to the Site of Grace 'Small Private Altar'.
Use the Storeroom Key to talk to Hornsent Grandam
Remember that passageway to the left of the 'Small Private Altar'? Head this way now, and take out the two pesky sorcerer shades in front of you (the ones that fired at you when you were down on street level earlier). The Storeroom is just ahead to your left.
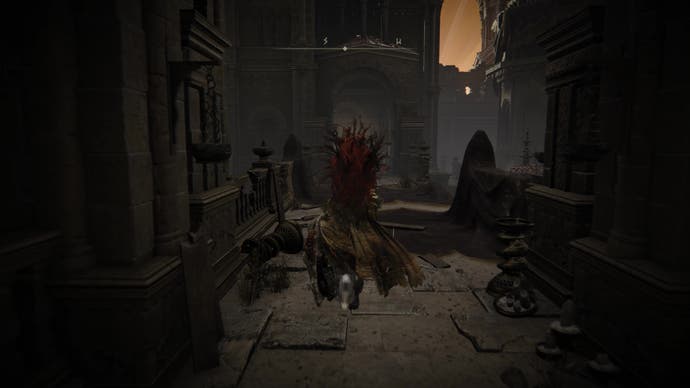
Use the Storeroom Key to open this locked room, and inside you'll find an old woman muttering to herself. If you try and talk to her, she'll simply groan and say nothing else.
However, on the table next to her, you'll notice there's a replica of the Divine Beast Dancing Lion's head here. This is a clue about what you need to do here, so equip your own Divine Beast Head, and talk to the NPC again.
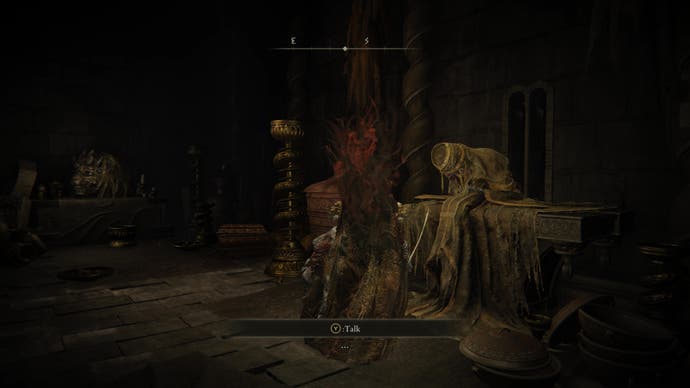
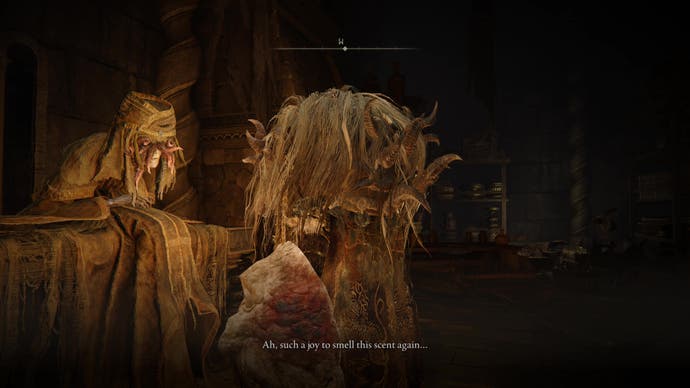
She'll now spring to life, and start talking to you. Keep talking with her, and she'll ask you to 'take vengeance on Messmer and his lot'. At the end of the conversation, she will give you the new spell 'Watchful Spirit'.
The Hornsent Grandam won't have anything more to say to you at this point (she'll simply repeat the same phrase over and over again), and there's nothing else to get in this room either (though you can also use the Storeroom Key to open the door opposite her to create a new drop-down shortcut back to the 'Small Private Altar').
Before you do that, though, head back the way you came and jump over the barrier in front of you, as there are some more items on the rooftops to find here, including 1x Somber Smithing Stone (4) to the left of the main street, and 1x Silver Horn Tender on the right side of the street (closest to the Site of Grace).
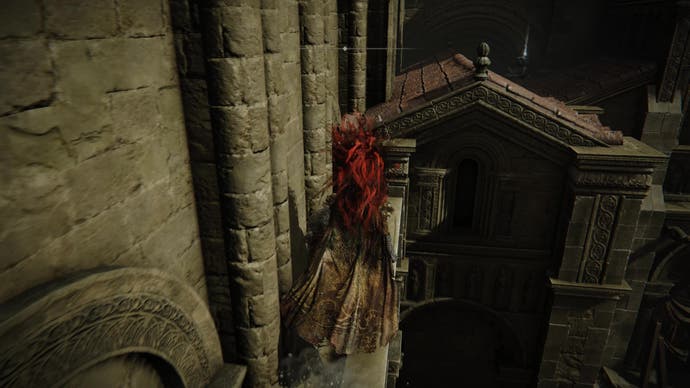
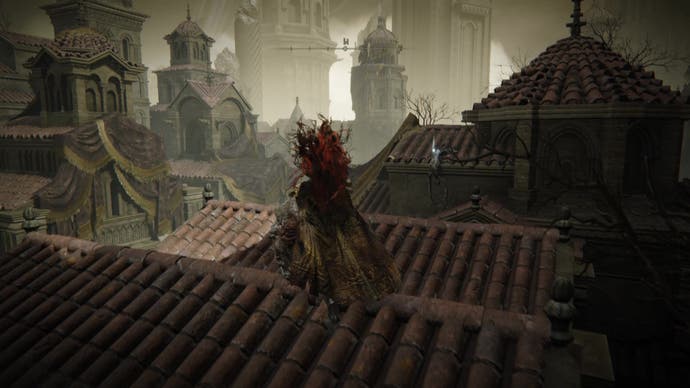
Now, to find that Miquella's Cross...
Find Miquella's Cross location
Fast travel to the Site of Grace 'Belurat, Tower Settlement' and use the handy lift shortcut you unlocked earlier. Remember where you found the Bone Bow at the bottom of the tower leading up to the boss? Instead of going in the tower, climb up the crumbled buildings on your right.
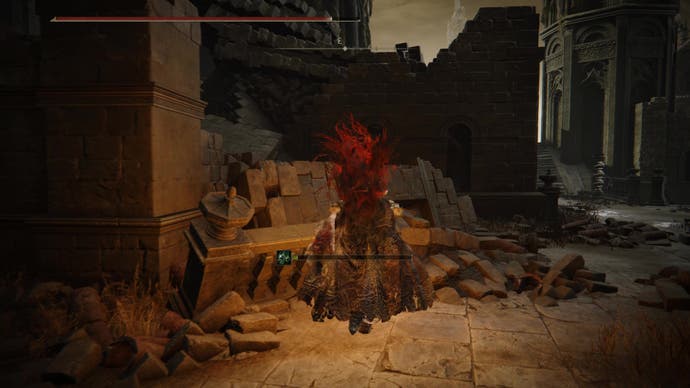
There's a small door hidden away behind the rubble to your left. Enter, and mind the overgrown insects that have infested the room. They'll rush at you from the right, so enter with caution.
Once you've fought them all, you'll find yourself in some sort of nursing station with a lot of insect husks lying on blankets. Clearly something sinister happened here, but you'll see Miquella's Cross almost immediately as you go on the small set of stairs.

Grab the 5x Thin Beast Bones from the corpse on your right before you head into the next room to touch the cross and collect the Scadutree Fragment next to it.
That's not all here, either, as you can continue out the door to find the Dried Bouquet Talisman on a corpse round to your left (which raises attack power when a spirit you've summoned dies).
Explore the Well Depths
Fast travel back to the Site of Grace 'Belurat, Tower Settlement' and make your way to the well in the lower town area you saw earlier. It's just off to the site of the shades who are congregating round the well at the western end of the main street area.
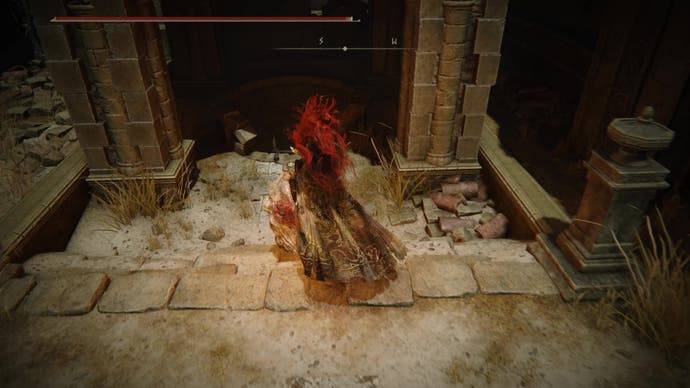
Go down the ladder, deal with the three dagger shades lurking down there, then get the 1x Messmerfire Grease off the pile of corpses. Now, open the door using the Well Depths Key you picked up earlier.
The following area is one giant poison pool, so make sure you have some poison healing items at the ready (including some Soap, to wash it off your armour if you end up dodge rolling and getting yourself covered in it), and try and spend as little time in it as possible. Jump, sprint... Just DO NOT ROLL. And try and stick to as much solid ground as you can.
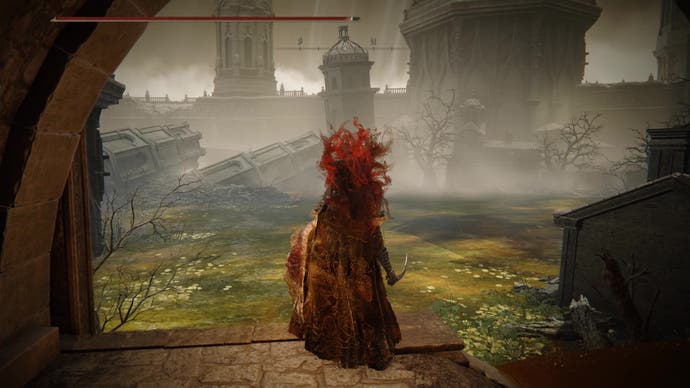
Start by heading right, in a north-west direction. There's enough crumbled building here to give you some solid footing, though watch out for those overgrown insects again. There are a lot of them in this area, so try and fight them on solid ground and not in the poison pool.
There's no easy way across to the other side, so jump and sprint across to grab some items before passing under the bridge. Jump onto the roof, then pass round the outside toward the back wall. There's a corpse here with 1x Neutralizing Boluses in the corner.
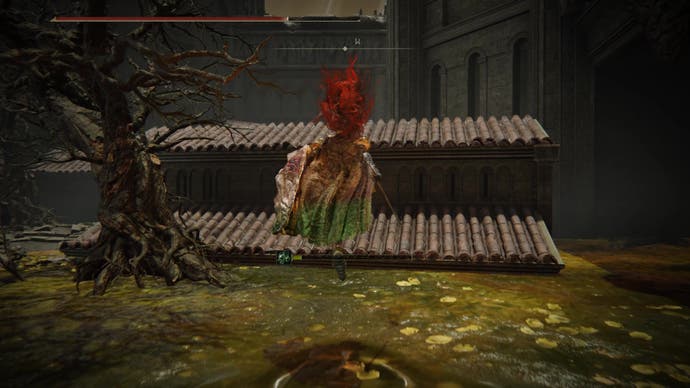
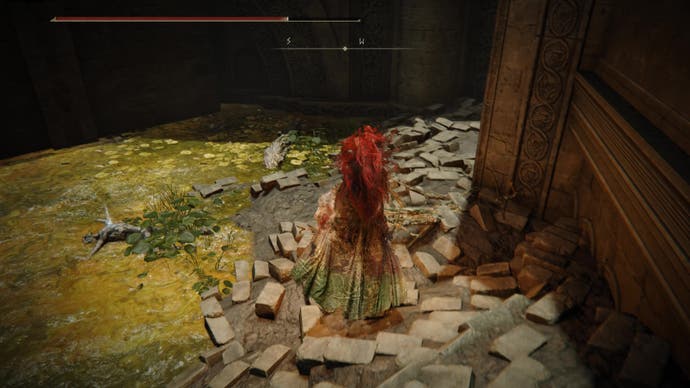
Go back to the main pool area again and head south, using the tree to help you get across to the next piece of solid ground. Keep going until you get to a fallen tower. The sunken house to your right has a corpse with 2x Smithing Stone (2) on the roof, which you can jump up to.
On the other side of the fallen tower that stretches across the length of the area, you'll see a large empty space here with a few corpses strewn about in the middle. If you enter this area, be prepared to fight a nasty Ulcerated Tree Spirit here.
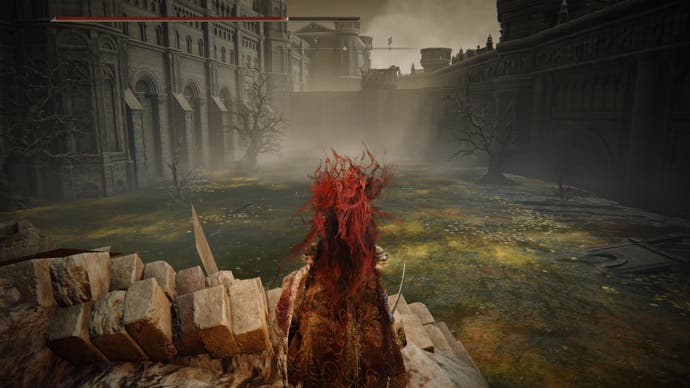
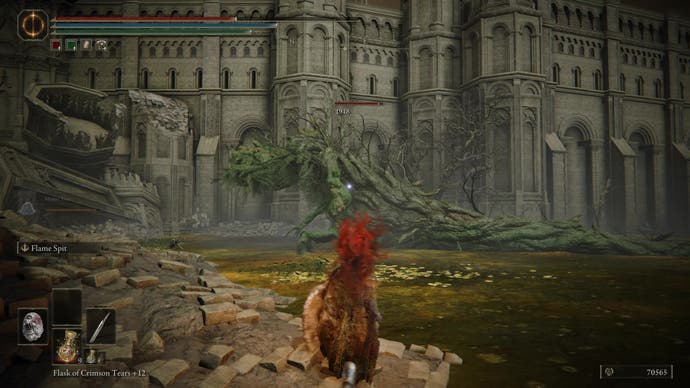
If you'd rather not (or simply need more preparation time), head back to that large bridge you saw earlier in the opposite direction. Deal with the large insects hanging on its underside and jump-sprint over to the isolated building in the middle of the pool that lies in front of you to the north. Two more insects hang out here (plus another who will spit poison at you from the roof), but do your best to fight them on the building itself instead of the pool.
Jump up onto the roof to loot the 8x Serpent Arrows from the corpse.
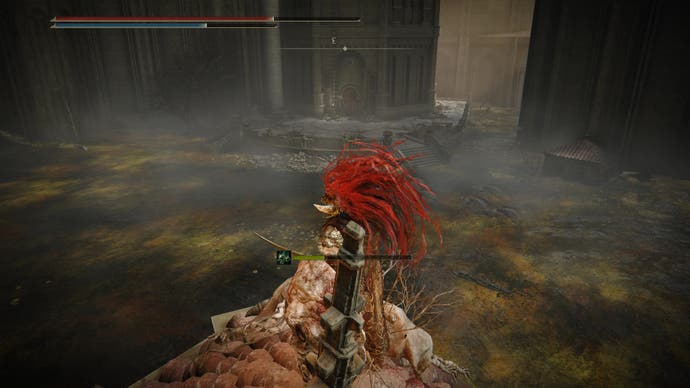
From here, you'll see a Horned Warrior to the north. Do not attack him long distance, as he will cast a lightning spell that can hit you instantly from where he's standing and will start to make his way over to you.
You can take him out, but you can also flee to the ladder over to the east. Before you climb it, though, head round the right-side of this platform and use the gap in the barrier to venture once more into the poison pool to grab 5x Whiteflesh Mushrooms from the corpse in the corner.
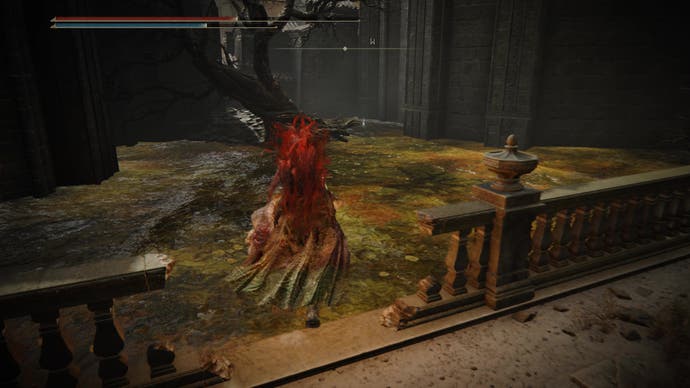
Finally, climb the ladder and open the door in front of you. You'll now find yourself back at the Site of Grace 'Belurat, Tower Settlement' (as you've just opened the door that was originally locked from the other side).
Congrats! That's Belurat, Tower Settlement done and dusted. Now to head to Scadu Altus, which you can either get to through Castle Ensis, or via a hidden route that let's you skip Castle Ensis altogether if you prefer.
Need more help? Improve your stats by finding all of Shadow of the Erdtree's Scadutree Fragment locations and Revered Spirit Ash locations. Alternatively, see which Erdtree bosses you've still got left to beat, and track down some great new early weapons to help you on your adventure.


