Elden Ring: Stormveil Castle walkthrough
Here's how to complete Elden Ring's first Legacy Dungeon.
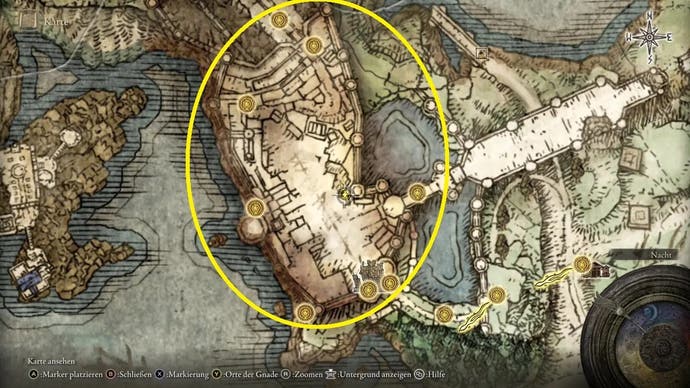
Stormveil Castle is a location in Elden Ring and the first Legacy Dungeon. It is located in Limgrave, and you'll reach it after the boss fight against Margit the Fell Omen who lurks at the end of the Stormhill and guards the entrance to the castle.
Stormveil Castle is much more complex than all the little dungeons or caves in Limgrave and Weeping Peninsula, and you will also have to do without Torrent in here. It can be a tough location to navigate, especially if you want to get all of its various treasures, so read on for our step-by-step walkthrough on how to complete Stormveil Castle in Elden Ring.
On this page:
- Stormveil Castle walkthrough
- Inside the Castle
- Beat the Banished Knight and get the Rusty Key
- Unlock the lifts in Rampart Tower
- Fight your way across the Ramparts
Stormveil Castle walkthrough
After your victory against Margit, follow the steps up to the entrance gate, next to which you will activate the Site of Grace 'Stormveil Main Gate'.
To the right of this Site of Grace, a few steps will take you to a corpse with 1x Furlcalling Finger Remedy. On the way back, you can drop onto a wooden surface to the left of the stairs and find 2x Fire Grease (for applying to your weapons) at the end of the tunnel.
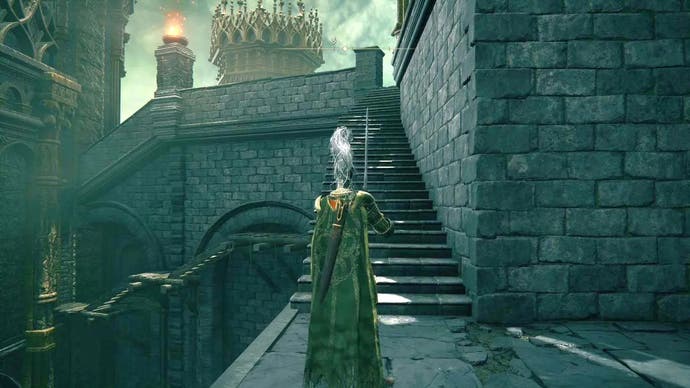
Drop down, pick 1x Trina's Lily in front of the chasm and continue left through the hole in the wall. You will return to the Site of Grace.
Continue to the left of the locked castle gate in the inner room. You'll meet a guy called Gostoc, one of the mistreated workers here and one of Elden Ring's many merchants once you find the Rusty Key inside the castle.
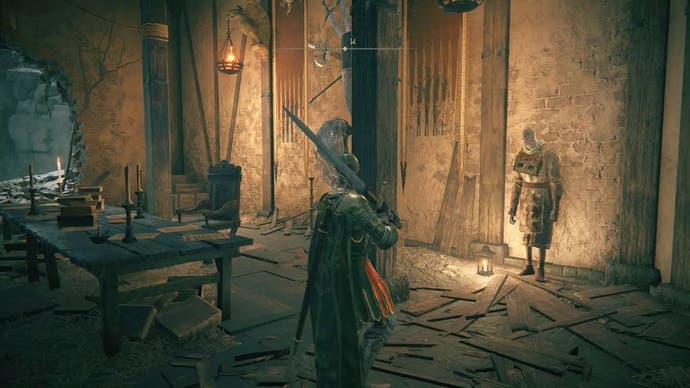
He warns you not to go through the main gate as it is guarded by labourers. And he's right. You can try anyway, though, and tell him that you want to use the main gate. However, there are multiple routes you can take at this point, including:
Let's go through the paths one by one.
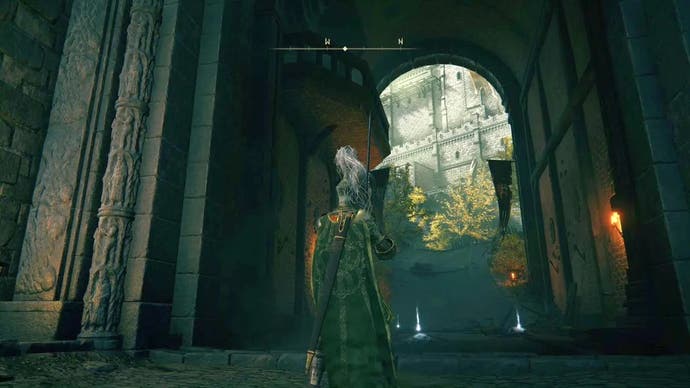
Through the main gate:
Gostoc will open the main gate if you wish to take this route. The three corpses behind the gate grant us 1x Golden Rune (1), 1x Golden Rune (2) and 5x Ballista Bolt.
Unfortunately, the enemies will shoot at you with a massive ballista of their own, which has an enormous scattering effect. This route is only recommended if you know what you're getting into (so don't do it the first time). Don't worry, you can come back later and explore this path too.
Through the side passage:
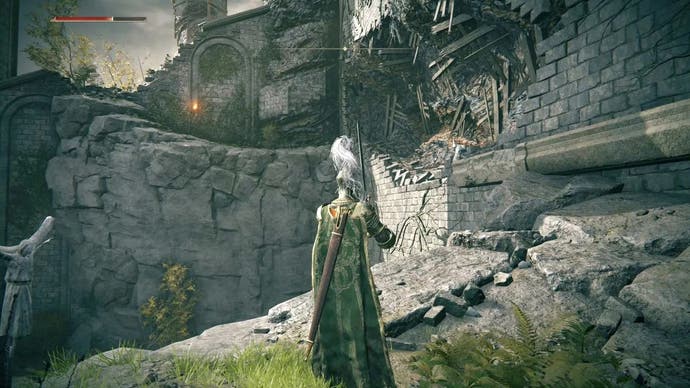
The better route for first-time players leads through the opening in the wall out into the open. Take 1x Golden Rune (1) from the corpse on the ledge and use the ledge on the side of the castle to make progress. The corpse hanging on the ledge will give you 3x Ruin Fragments.
Follow the path until you reach a broken wall, which you can climb on the right-hand side to reach this spot:
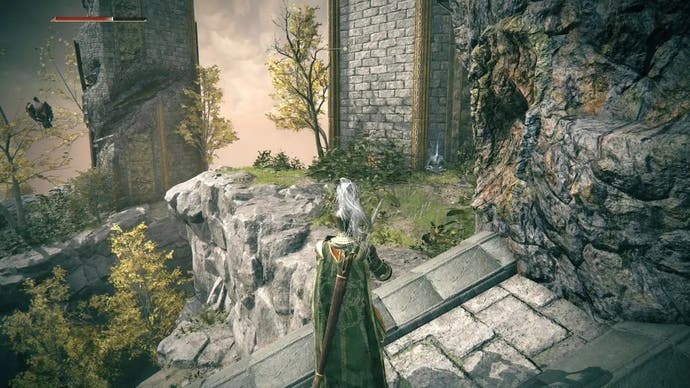
The corpse on the wall provides 1x Smithing Stone (2). From this ledge, you can already see the next Site of Grace 'Stormveil Cliffside' to the west. Drop down there.
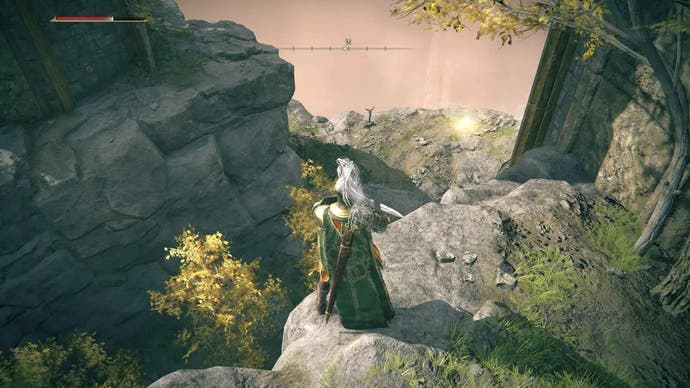
From here we now have several more paths that can be explored:
- Up the cliffs to the west (main path)
- Towards the south/southeast (where some bird enemies will attack you)
The latter southeasterly path has some eagle-like enemies to kill, but once they're defeated, you'll find a corpse with 10x Bolt on the cliffs to the north-east.
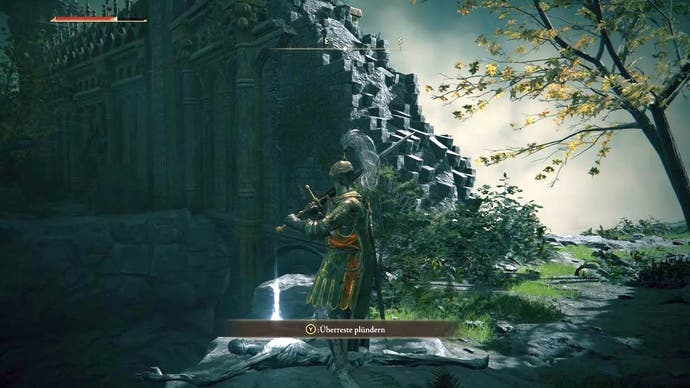
Head back south-west, with the cliffs to your left, and you'll come to more birds guarding a corpse with 1x Smithing Stone (3). Then drop down to the Site of Grace and you can continue.
Continue along the cliffs to the west and return to the main path
From the Stormveil Cliffs, head up the stairs in a north-westerly direction. Halfway up, pick up the Marred Leather Shield from the corpse.
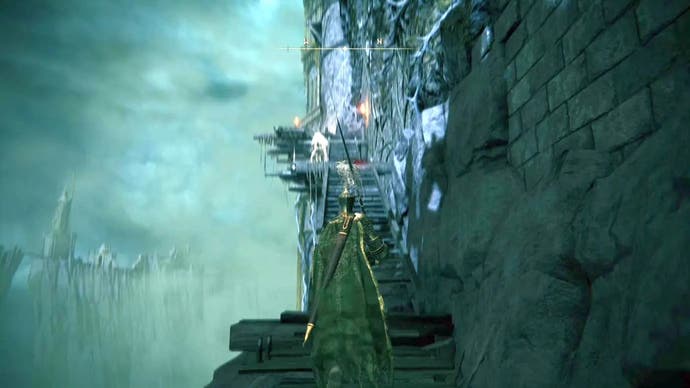
Watch out for the enemies at the top. The first one will alert the other two and if this happens then you're in trouble. They are so-called Exile Soldiers who can create air twirls with their swords and cause massive damage.
Lure them down and fight them next to the Site of Grace. The corpse on the wooden platform next to the entrance provides us with 1x Golden Rune (2), but be careful with the bomb throwers on the platforms above.
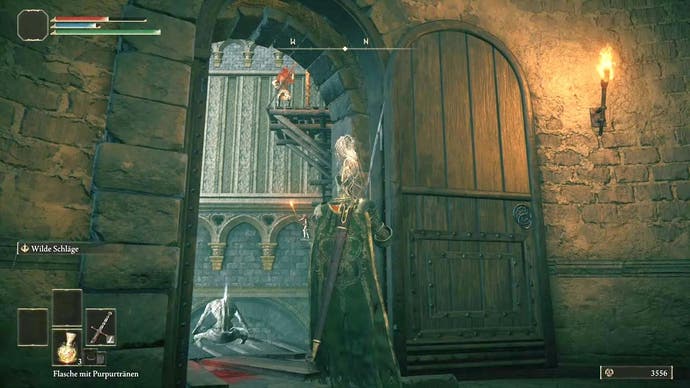
Inside the Castle
Inside, kill the two small workers and follow the path under the stairs. An enemy with an axe is lurking at the end, guarding a corpse with the Hookclaws weapon.
It gets dangerous up the stairs. Explosive barrels combined with bomb throwing are never a good thing, so proceed with caution.
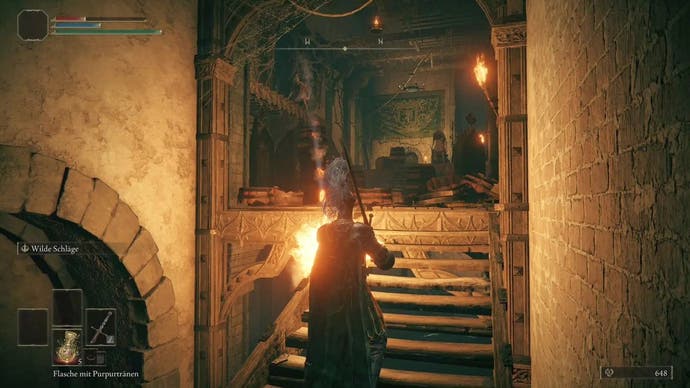
Defeat the two guys and to the right of the locked door (you'll find the key in a moment) you can snatch 5x Throwing Dagger from the cold hands of a corpse.
Opposite the locked door, go up the first flight of stairs and you can jump through the hole in the wall on the right, where you will a) find 10x St. Trina's Arrow and b) reach the platforms with the exiles who threw bombs at you earlier.
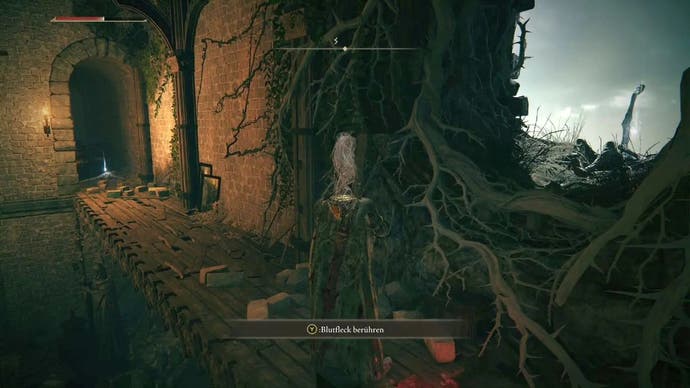
Follow the ladder upwards and you will return to the familiar area. You'll also have bypassed a narrow corridor full of explosive barrels with 3x Smoldering Butterfly at the end of it, but they're not worth the effort of trying to get through that corridor unscatched, so rest easy that you're not missing out on much.
Following the stairs further up, you can drop down to a corpse on the right with 1x Golden Rune (2). Continue to the top behind the door on the right.
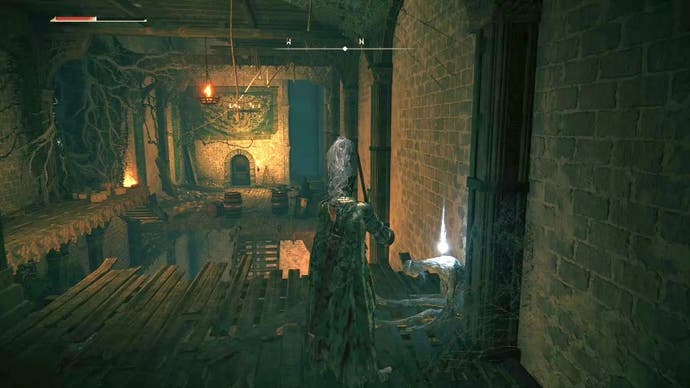
Beat the Banished Knight and get the Rusty Key
This room is pitch-black. A Banished Knight awaits you here who is not to be trifled with, so use the size of the room to dodge his mighty attacks.
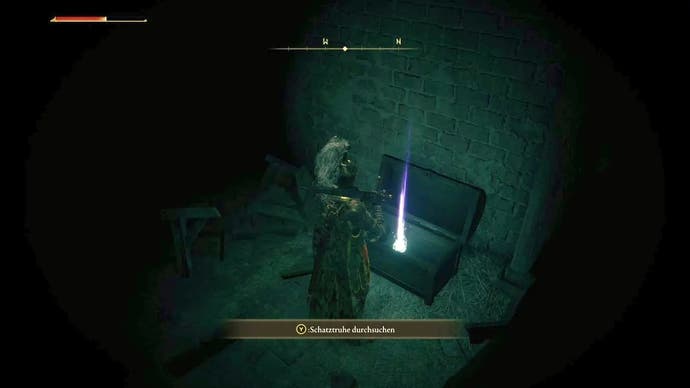
Loot the surroundings and take the Rusty Key from the corpse. In the treasure chest you will also find the Curved Sword Talisman, which improves guard counters.
Use the Rusty Key to open the door downstairs and climb the ladder. The path on the upper floor forks here, and you can either kill two workers on the right, so you can jump to a corpse with 1x Fire Grease, or continue left (though watch out for the guy behind the corner here).
If you continue left, at the end of the corridor you will find 1x Silver-Pickled Fowl Foot before heading out through the open gate on the left.
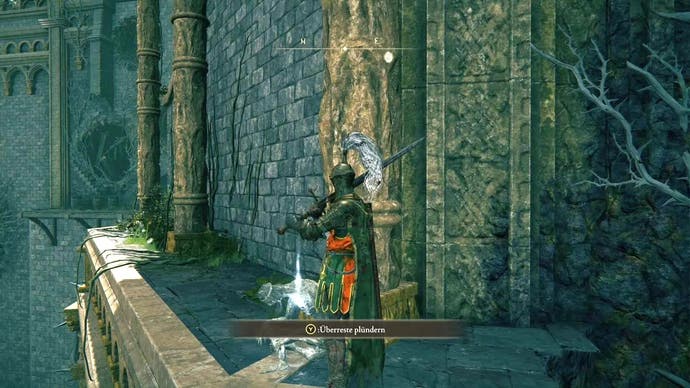
To the left of the stairs leading upwards, you will find a corpse with 3x Mushroom at the end. Climb the steps back up into the building and run towards a thickly armoured knight with a halberd.
This guy can easily smash you, but remember that you can also sneak past him on the right, up the stairs. The lift on the floor above does not move despite the lever.
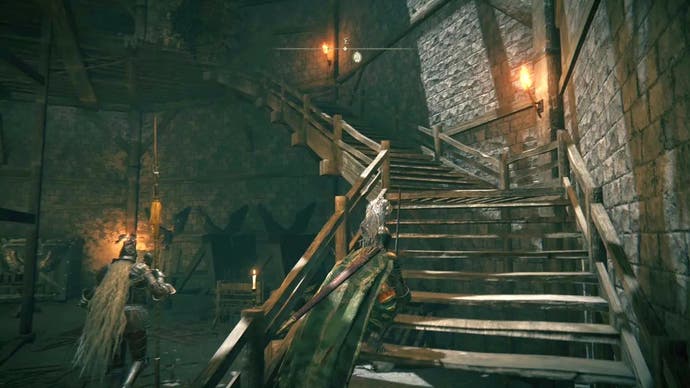
On the corpse next to the crates you will find 2x Drawstring Fire Grease. You will also finally discover the next Site of Grace 'Rampart Tower' on this floor.
After the rest, the path through the castle branches out quite a lot: there are ladders, ledges, canopies and many, many paths you can take. It's almost impossible to list them all here, but essentially, you have two potential paths:
- Out through the door next to the Site of Grace.
- Continue up the stairs by the deactivated lift.
The first thing you should do though, is activate the lifts in Rampart Tower.
Unlock the lifts in Rampart Tower
Before we continue with the walkthrough of the castle, here's a quick disclaimer for anyone who's wondering: there are two lifts near the Rampart Tower. One is in the centre next to the spiral staircase, and one is in a small side chamber. How can they be activated?
The lift in the side chamber must be activated from below by using this passageway in the room with the Grafted Scion (the tutorial boss).
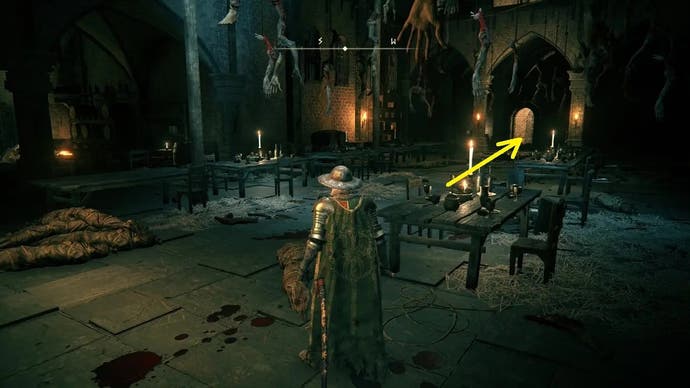
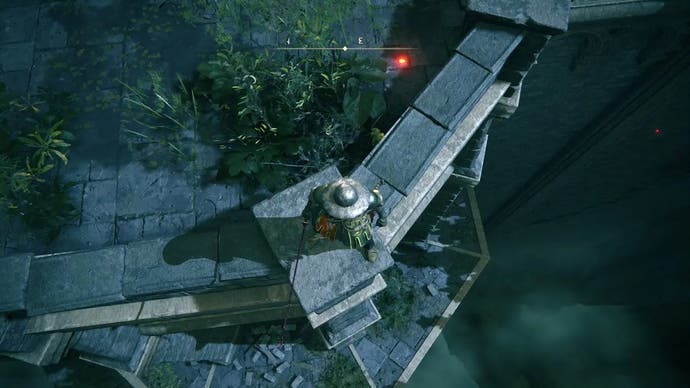
The main lift in the centre can be reached via the Rampart Tower. Exit the room to the north and kill the first few Warhawk enemies. Then drop down to the left, and follow the path further down.
Behind a Crucible Knight (who drops the Incantation Aspect of the Crucible: Horns), you will reach the lift and can activate it.
With both lifts now available, our recommended route through the rest of Stormveil Castle is by carrying on up the stairs by the lift.
Continue up these stairs, and an exile will march towards you here. Another one stands on the other side of the lift winch and shoots with a crossbow.
You can jump over the mechanism with the coiled ropes (one metre too far and you'll fall a hundred metres...) and land on his side, where you can take 5x Throwing Dagger from the corpse.
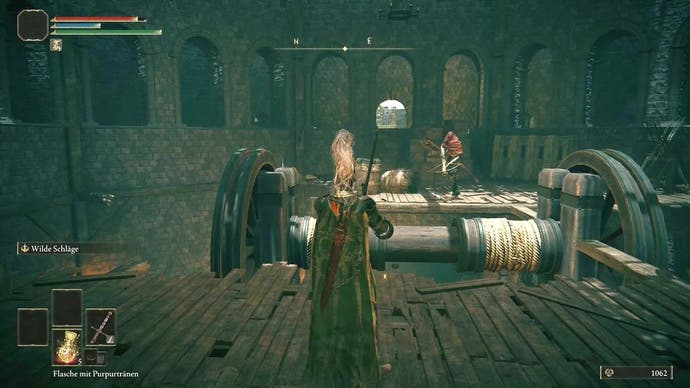
The passage from which the exiled man came has another exit to the outside. There you have to kill a few enemies and find 1x Golden Rune (2) by the corpse.
Fight your way across the Ramparts
Next, go to this spot where you can drop onto the wooden roofs:
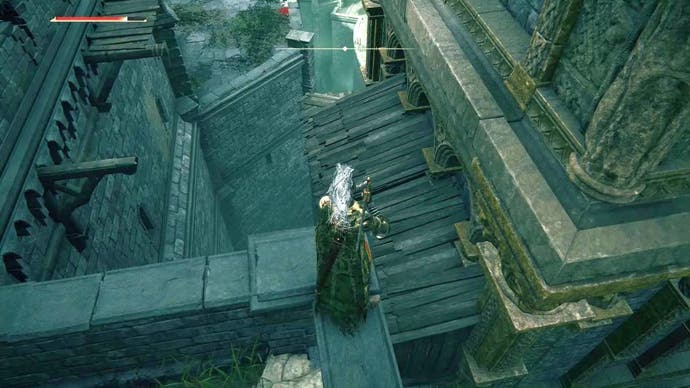
Follow the ledge until you spot a corpse holding 2x Smithing Stone (2). You will then come to another roof with a fallen pillar. You could also have reached this if you had gone outside after the 'Rampart Tower' Site of Grace and jumped towards the north-east at this point (with a running jump).
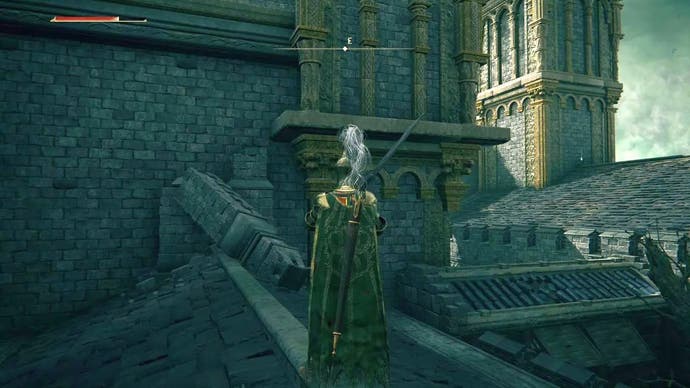
From here, you will reach the neighbouring roof on the right, where you will be greeted by a bird enemy. You will also find the Gesture 'Dozing Crossed-Legged' here.
You can also reach a ledge via the fallen pillar, at the end of which some exiles await you. Climb the ladder after they have gone and you will find the Claw Talisman, which improves jump attacks, on the tower above.
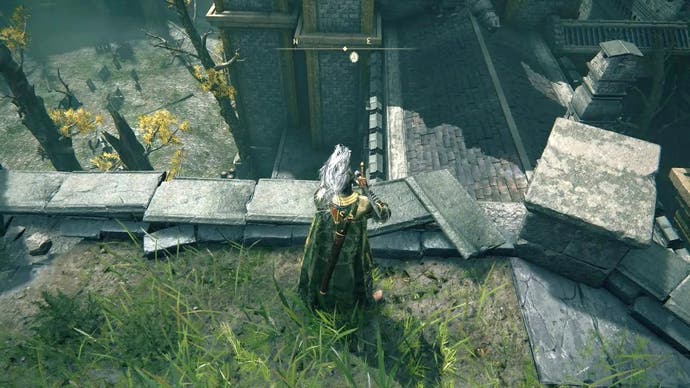
Then drop back down piece by piece and look down to see which balconies and platforms you can land on.
This is also the point at which specific route descriptions no longer make much sense. There are so many paths you can take, over the canopies and much, much more.
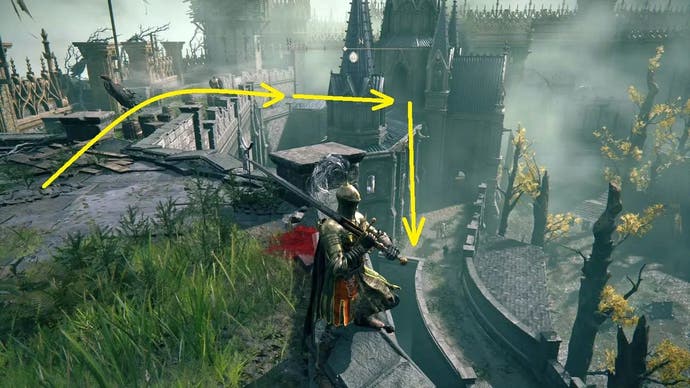
Your goal is the courtyard below - the one where a lot of enemies have set up defensive positions there. You can take the following path (past the birds with the explosive charges) at the end of the defence walkway they are guarding, you will find 1x Smithing Stone (2)):
Alternatively, you can also jump onto the roof at this point and drop down into the courtyard:
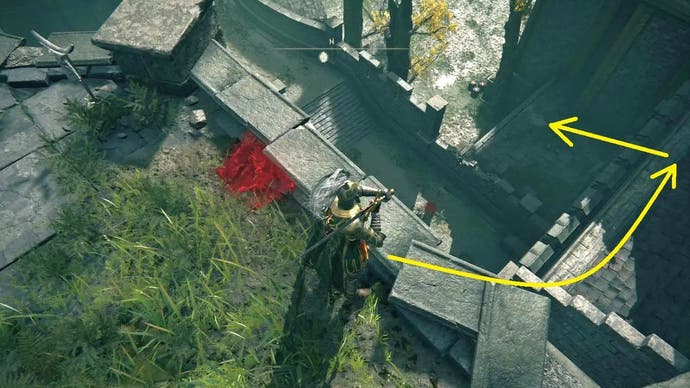
The many enemies hiding among the defences, and aren't really there to be fought. You can try, of course, but they are overpowered and too many in number to be a safe and fair fight.
However, make sure you reach this spot behind the large enemy with his dog, as on the ledge you'll find a corpse with 2x Smithing Stone (1):
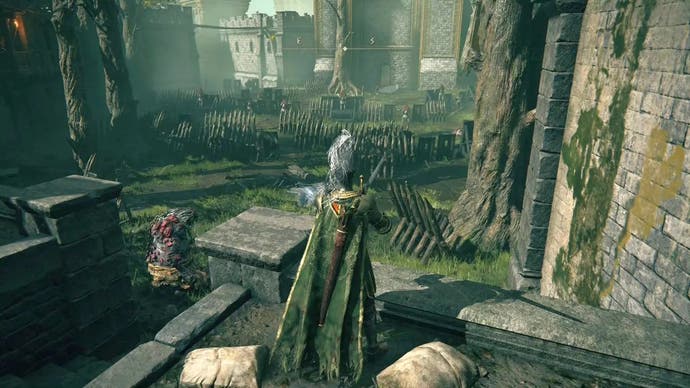
More importantly, you will also discover the next Site of Grace here - 'Liftside Chamber' - and an elevator you can unlock with a lever.
Travel up and you will encounter the cute pot enemies for the first time: enemies named Living Jars, with arms and legs, who hit no less hard. The big one drops a Living Jar Shard.
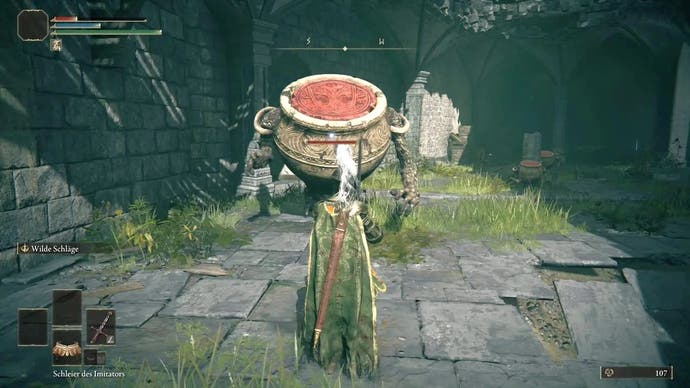
Once you have smashed your way through the sentient pottery, you will find 2x Cracked Pot in the dead end.
In the other direction, knock away the scarab to get the Ash of War: Stormcaller. In the building opposite, you will find the next Site of Grace 'Secluded Cell'.
The passage through the fog gate will take you to the boss of the castle: Godrick the Grafted.


